
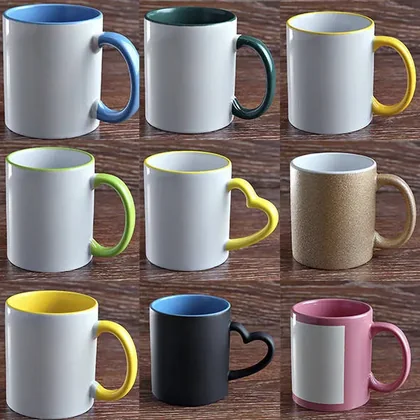
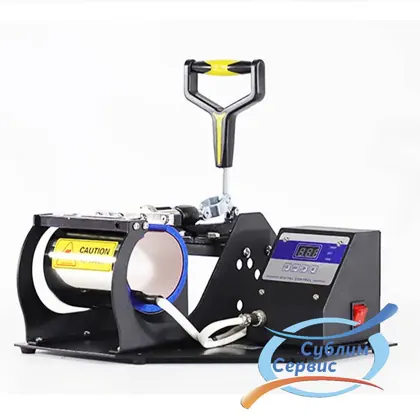





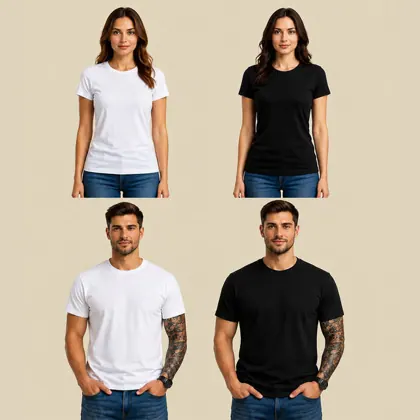
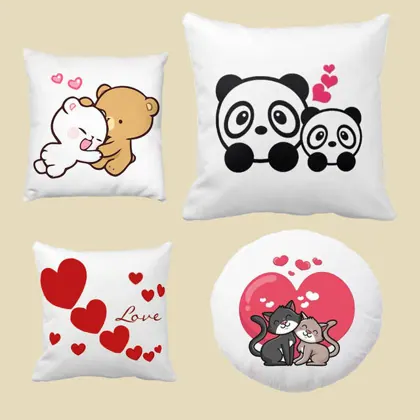
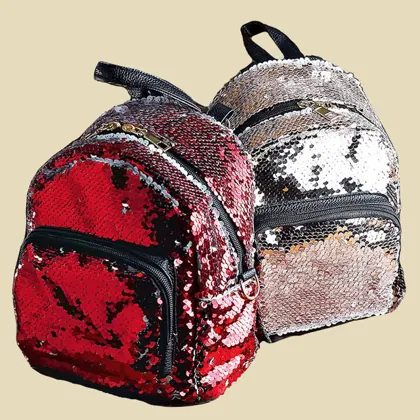

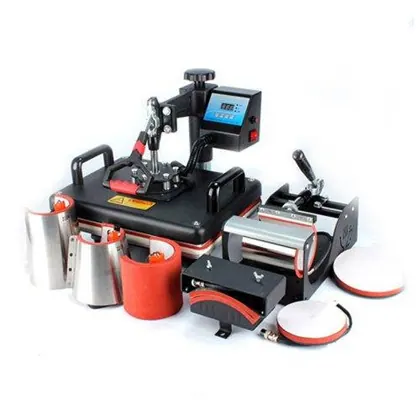
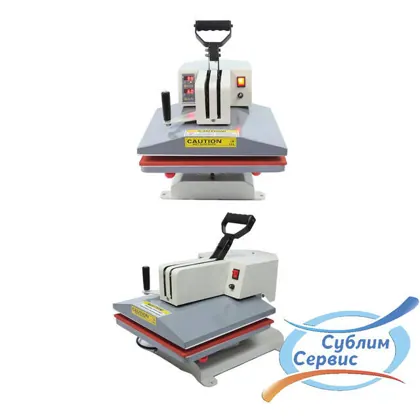
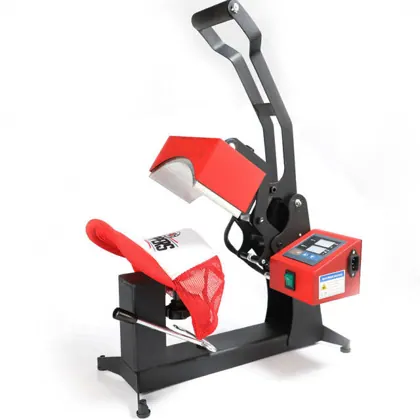
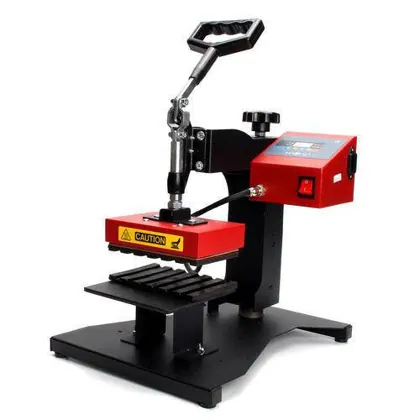
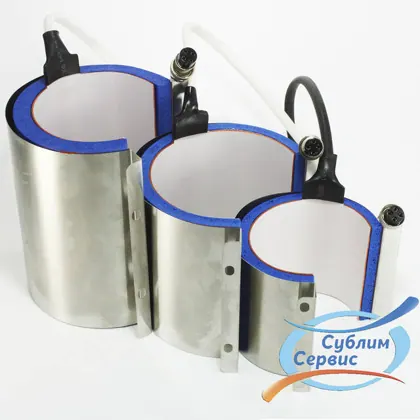
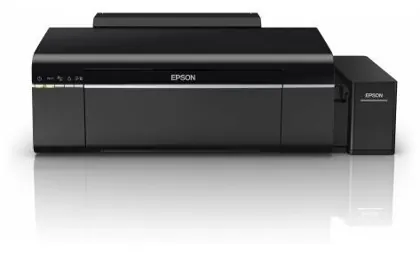
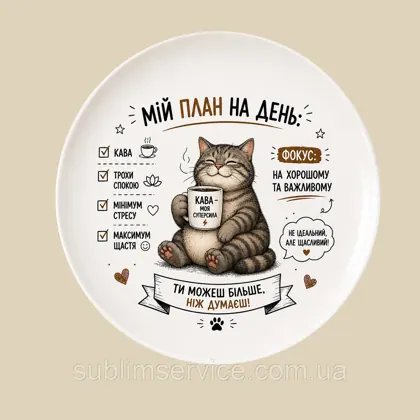
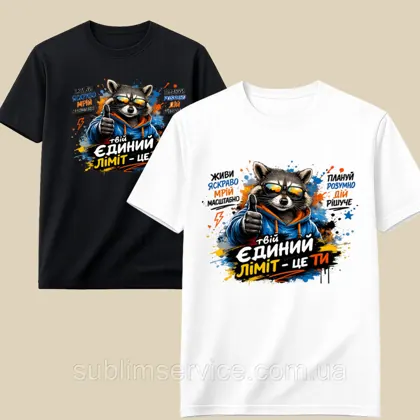
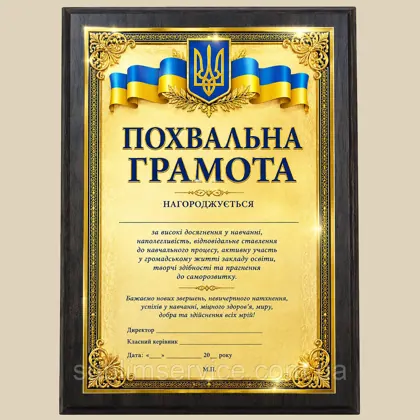
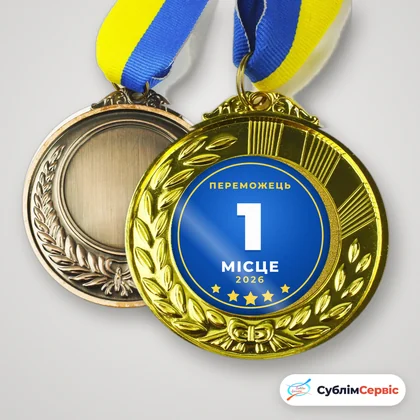
To apply some original picture to any type of finished product, several stages must be completed. First you need to make a layout, for which practically any graphics editor can be used. After that, the image is cut out using a cutting plotter. The finished blank is placed on top of the fabric and heated under the press. As a result, the finished image or text appears on the fabric. But this method is by no means the only one of its kind.
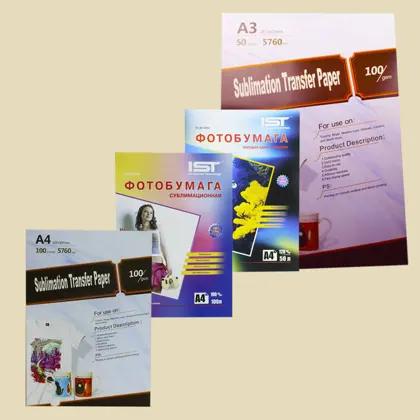
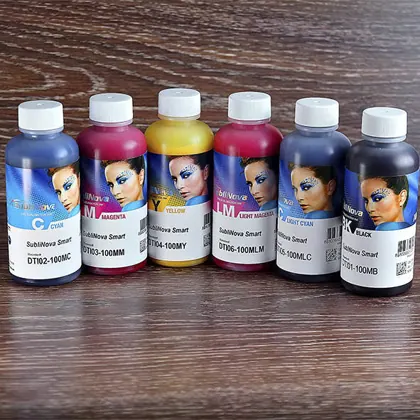
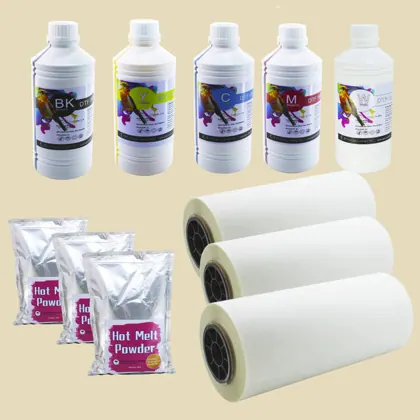
Currently, other methods of transferring images onto products are also used. In particular, this means sublimation. The chosen picture is printed on an inkjet printer that uses special sublimation ink. A heat transfer press is also used here. The difference from the method described above is that the image does not need to be cut out beforehand, since the ink, when heated, turns into a gaseous state and penetrates the surface of the items.
Such an advanced technology as sublimation has already been taken up by many commercial organizations and print shops. Its great popularity is quite understandable, since its costs are low, which makes it possible to expand the product range noticeably. Besides, there is an opportunity to diversify the products, which can only be beneficial. Sublimation allows you to apply any image to practically all types of surfaces, be it metal, ceramic, paper or fabric.
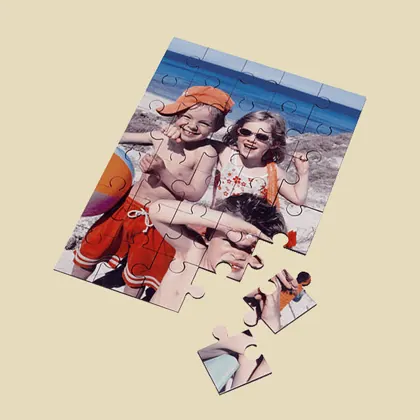
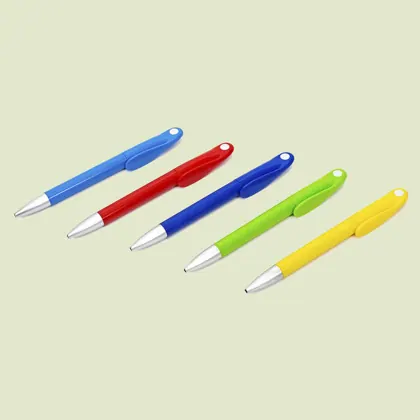
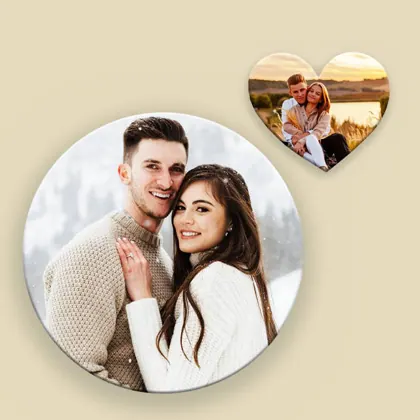
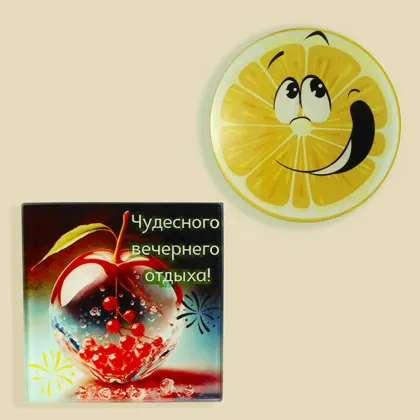
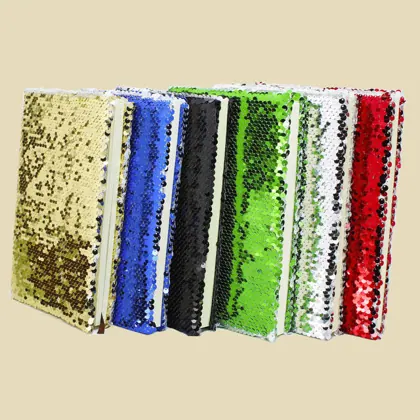
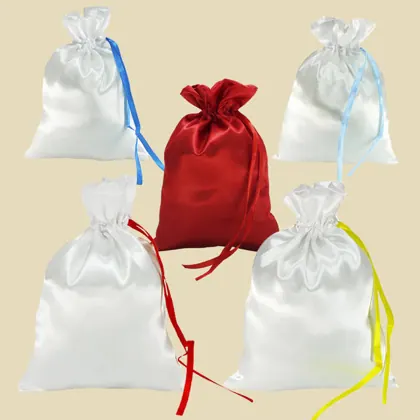
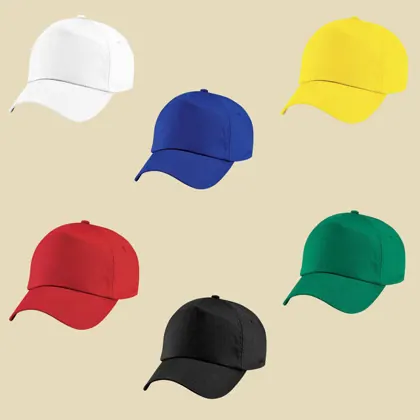
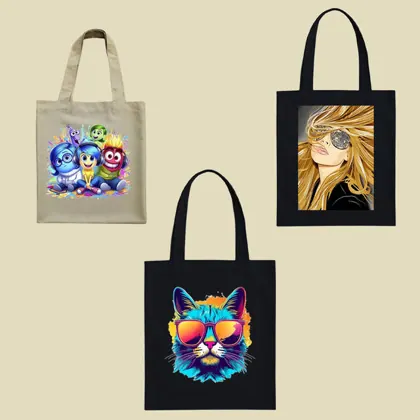
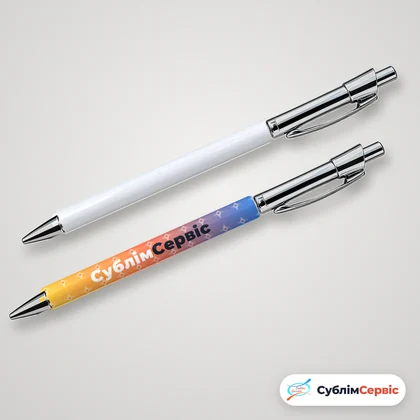
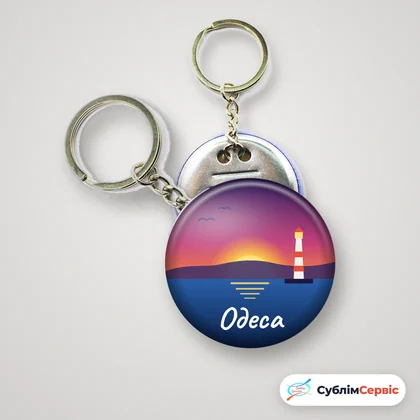
For all its simplicity and ease, sublimation technology has a certain limitation. Any item (or blank) onto which an image is planned to be transferred must withstand a high temperature of up to 140°C in the heat press. As for everything else, in practice there are no other restrictions. Thanks to the special ink, the pictures come out with excellent color rendition. A clock, a keychain, a puzzle, an ordinary document folder and any other kind of souvenir product will stand out for its unique originality.
| № | Product | T, °C | Time, sec. | Warnings |
|---|---|---|---|---|
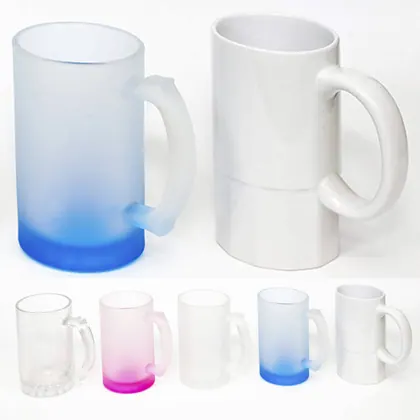
| 1 | Ceramic mugs | 170-190 | 120-180 | 1) Don't forget to mirror the image. 2) Adjust the clamping height and pressure before starting work. 3) Make sure the paper and the mug fit tightly against each other. 4) Recommendations and tips for sublimation printing on mugs. Questions and answers. |
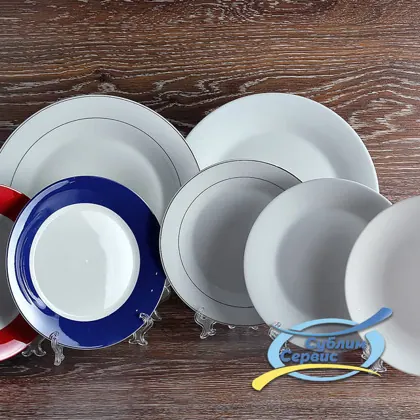
| 2 | Ceramic plates | 180 | 100-120 | 1) Don't forget to mirror the image. 2) Start transferring the image when the press has heated up to the set temperature. |
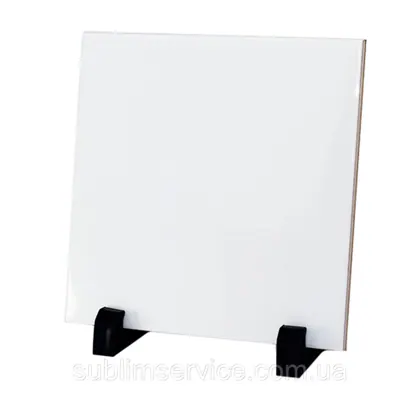
| 3 | Ceramic tiles | 180-185 | 150 | 1) Don't forget to mirror the image. 2) Place the paper with the image on the silicone pad of the press, photo side up, then place the tile face down on the paper. |
| 4 | Lighter | 180-185 | 100-120 | 1) Don't forget to mirror the image. 2) The image can be transferred to both sides. |
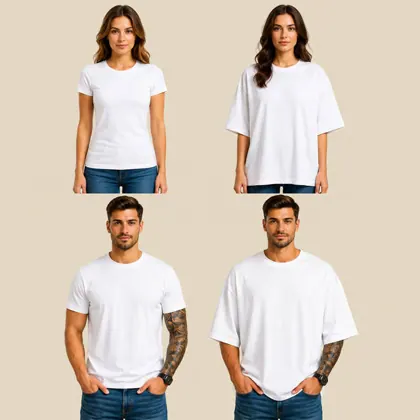
| 5 | White T-shirts 75%-100% cotton (when using heat transfer paper for light fabrics) | 150 | 15 | 1) Don't forget to mirror the image. 2) Only water-based ink is used! 3) Use only for T-shirts (cotton 75%-100%). 4) After transfer, remove the heat transfer paper from the T-shirt as soon as possible. |
| 6 | Black T-shirts 75%-100% cotton (when using heat transfer paper for dark fabrics) | 150 | 15 | 1) Use only for black T-shirts 2) Only water-based ink is used! 3) Print the image MIRRORED. 4) Remove the film from the heat transfer paper and place the paper on the T-shirt face up. 5) Place the film on the heat transfer paper, making sure the smooth side of the film faces the image. 6) After transfer, remove the heat transfer paper from the T-shirt as soon as possible. |
| 7 | White T-shirts 100% synthetic or no more than 40% cotton (use sublimation ink), scarf | 170-200 | 35-75 | 1) Use for T-shirts containing no more than 40% cotton 2) Before transfer, iron the T-shirt by briefly lowering the heating platen onto it 3) Don't forget to mirror the image. 4) How to print on T-shirts for sublimation. Questions and answers. |
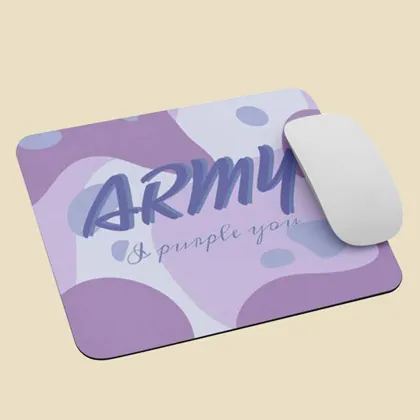
| 8 | Towel, pot holders, mouse pad, silicone trivet | 155 | 65 | 1) Cover the item with white paper on both sides. 2) Don't forget to mirror the image. |
| 9 | Puzzle for sublimation | 180 | 90 | 1) The image must be the correct size for transfer. 2) Don't forget to mirror the image. |
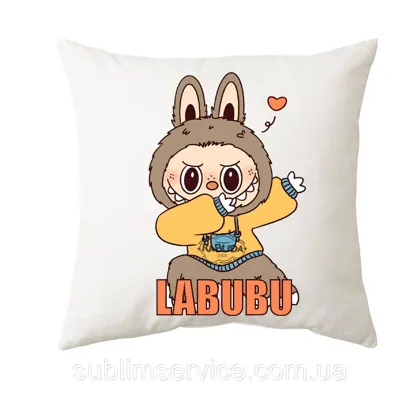
| 10 | Pillows and pillowcases | 180 | 120-140 | 1) Don't forget to mirror the image. |
| 11 | Magnets | 160-180 | 4 passes, each about 20 sec., with a break of about 40 sec. | 1) Don't forget to mirror the image. 2) The temperature and time data are given for InkTec paper 3) Layout for heat transfer: puzzle magnetic side down, paper, pad (for example, 2 layers of Teflon fabric) 3) It must be cooled before use! 1. Firmly secure the paper with the print to the magnet. 2. The press is heated to 160-180 degrees. 3. Heat transfer is carried out in 4 passes, each about 20 seconds, with a break of about 40 sec. 4. After heat transfer, the magnet must be allowed to cool completely, WITHOUT REMOVING the paper. 5. Remove the sublimation paper. |
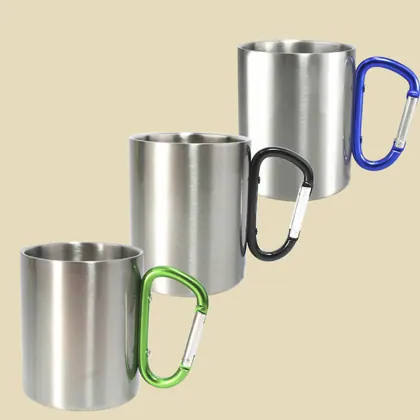
| 12 | Metal mug (travel mug) | 180-185 | 100-120 | 1) Don't forget to mirror the image. 2) For some item codes the time can be reduced to 80 seconds. |
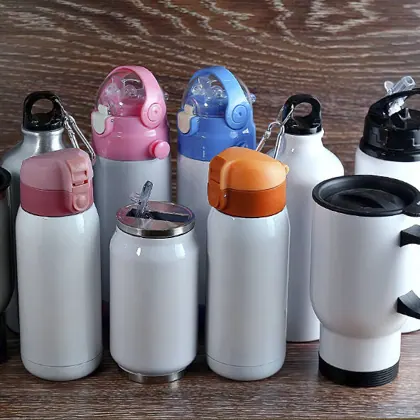
| 13 | Metal flask, thermos | 180 | 60 | 1) The image size must be no more than 10 cm 2) During transfer, open the flask and remove the cap from it 3) The clamping pressure must not be high; the flask can be bent. |
| 14 | Coffee mug | 180 | 30 | 1) The image size must be no more than 4.5 cm 2) When transferring the image, try to hold the mug in the middle of the heating element. |
| 15 | Plastic mugs | 150-160 | 40 | 1) Don't forget to mirror the image. 2) Adjust the clamping height and pressure before starting work. 3) Make sure the paper and the mug fit tightly against each other. 4) Mandatory condition: use metal molds (item nos. 10239, 10240)! |
| 16 | Plastic plates | 150-160 | 40 | 1) Don't forget to mirror the image. 2) Start transferring the image when the press has heated up to the set temperature. |
| 17 | Metal plates | 190-200 | 60-90 | 1) Don't forget to mirror the image. 2) Remove the protective film from the material. |
| 18 | Steel plates (keychains, mirrors) | 180-185 | 100-120 | 1) Don't forget to mirror the image. 2) Remove the protective film from the material. |
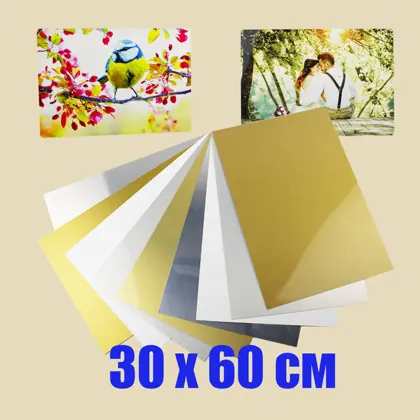
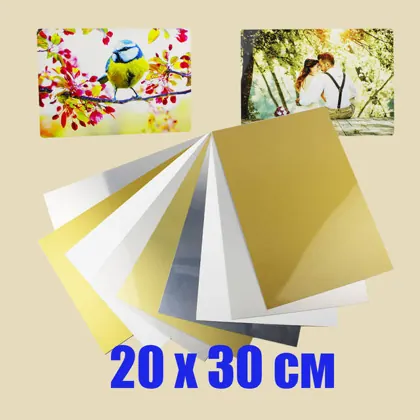
| 19 | Aluminum plates (metal plates) | 180-185 | 40-60 | 1) Don't forget to mirror the image. 2) Remove the protective film from the material. |
| 20 | Glass clocks for sublimation | 190 | 180 | Print NOT mirrored. Before applying, preheat the item for 30 sec. Minimal press pressure. To avoid breaking the glass item, printing in 3-4 passes is recommended, each about 20 seconds, with a break of about 40 sec. |
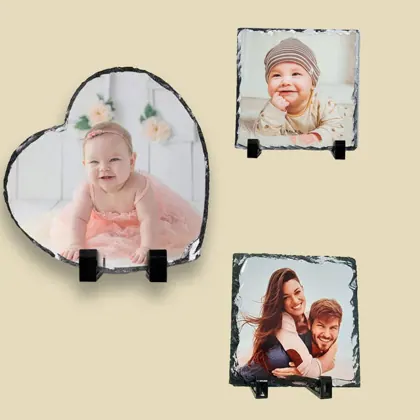
| 21 | Photo slates | 190 | 240+60 | 1. Preheat the stone for 10 sec 2. Cover the stone with a heat-conducting silicone sheet for 240 s 3. Clamp the stone for 40-60 sec without the silicone sheet for preliminary heating. |
|
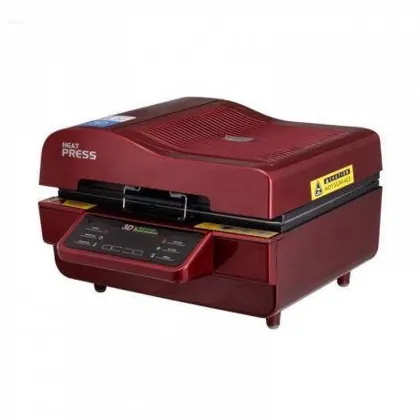
Settings for the vacuum sublimation machine |
||||
| 22 | Cases for the vacuum sublimation machine, plastic | 190-200 | 360-400 | 1) The time is given for a machine preheated to 190-200°C. 2) Mandatory condition: use metal molds (item nos. 10911, 10912)! |
| 23 | Ceramic mugs (silicone clamp) | 200 | 540 720 |
The time is given for a machine preheated to 200°C and for making 1 mug The time is given for a machine preheated to 200°C, for making 6-12 mugs |
| 24 | Ceramic mugs (metal clamp) | 180 | 360 | The time is given for a machine preheated to 180°C and for making 1 mug |
| 25 | Ceramic plates | 190-200 | 400-420 | The time is given for a machine that is not preheated. |
| 26 | Photo slate | 200 | 480 | The time is given for a machine that is not preheated. |
| 27 | Ceramic tiles | 180 | 360 | The time is given for a machine that is not preheated. |
| 28 | Glass shot glasses | 195 | 420 | 1) The time is given for a machine preheated to 195°C (for 7 shot glasses) 2) Mandatory condition: use the press mold (item no. 8308)! |
| 29 | Metal items: keychains, mirrors, metal plates | 190-200 | 180 | The time is given for a machine preheated to 190-200°C. |
| 30 | Plastic items: plates, mugs, puzzles | 190-200 | 400-420 | The time is given for a machine preheated to 190-200°C. |
| 31 | Glass items: photo frames, clocks | 190 | 420 | The time is given for a machine preheated to 190°C. |
| 32 | Silicone items: coasters, mouse pads | 170 | 180 | The time is given for a machine preheated to 170°C. |
| 33 | Beer mug | 200 | 400-480 | The time is given for a machine preheated to 200°C (from 1 to 7 mugs) |